How Do You Open 10 Restaurant Outlets Without Starting From Scratch Every Time?
The key is to stop treating every new restaurant as an entirely new project.
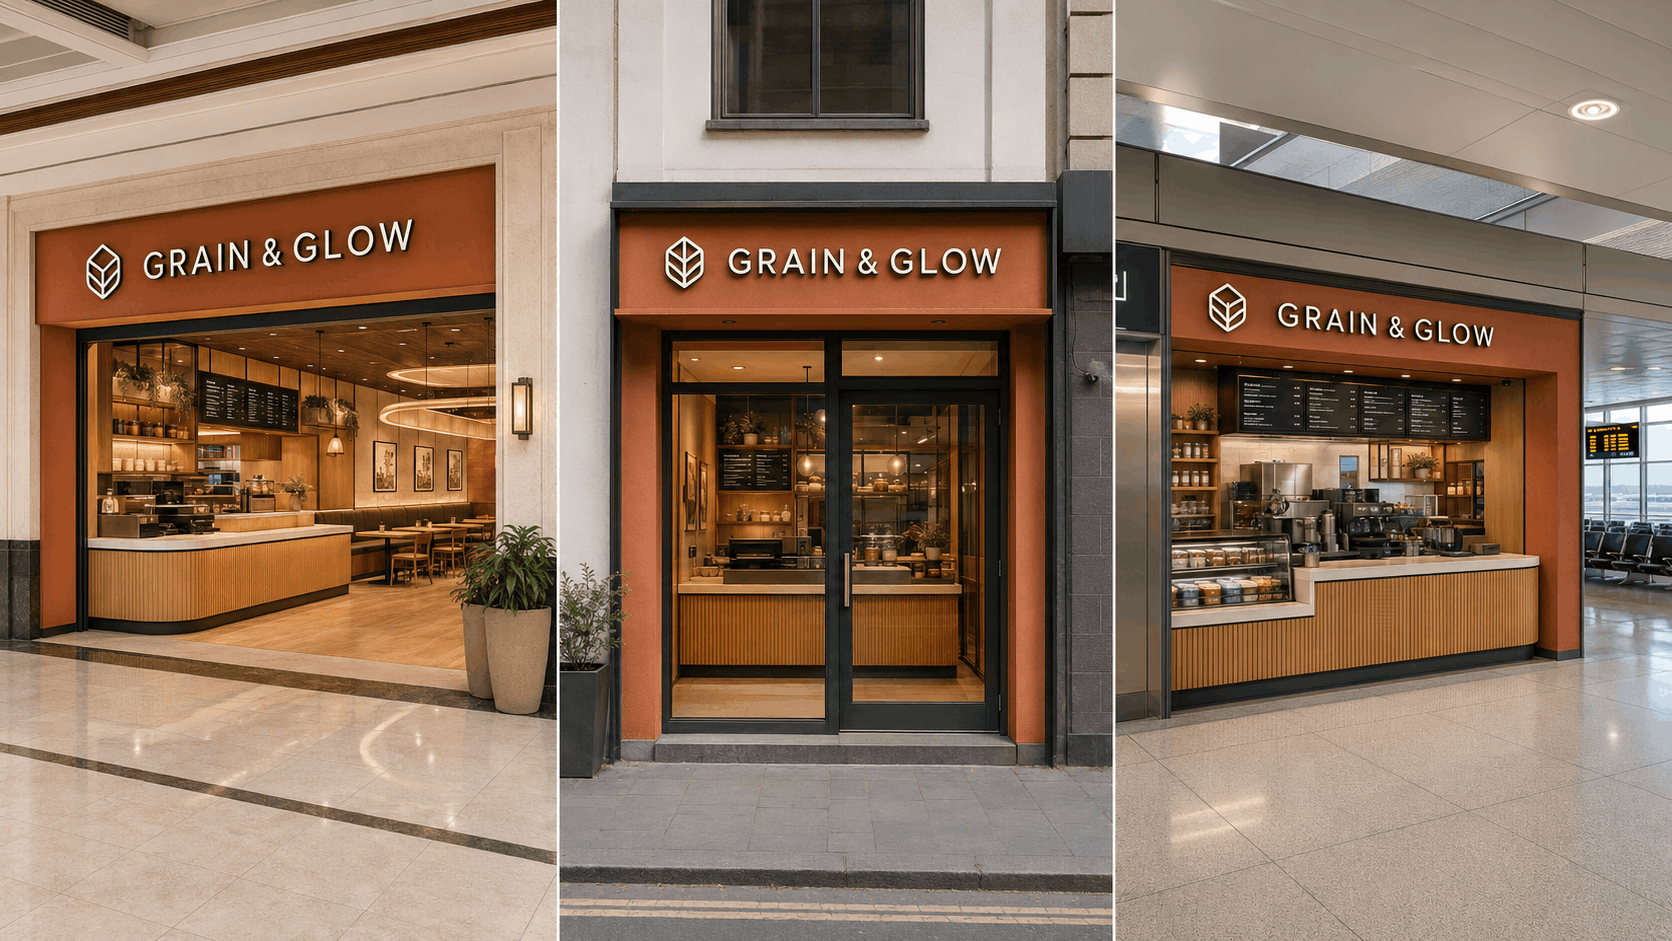
Once the first successful outlet has been designed, engineered and built, capture what worked, test it on the next two sites, and then repeat it—running several outlets in parallel instead of one after another.
Each location still needs to respond to its own site conditions. But the brand should not have to redesign every chair, counter, wall detail and technical solution from zero.
Standardise what defines the brand. Adapt what depends on the site.
This article is the practical playbook: what to do, in what order, outlet by outlet. If you want the underlying concept first, our Restaurant Rollout Guide explains what a restaurant rollout is and how a rollout system works.
Why Building Every Outlet From Scratch Creates Problems
Opening one restaurant is a project. Opening ten restaurants is an operating system.
If every new location begins with a blank sheet, brands often face repeated design work, different materials across outlets, different contractors interpreting the brand differently, cost variations, procurement delays, inconsistent furniture, changing counter details, quality differences, longer opening timelines and repeated technical mistakes.
The problem becomes larger with every outlet you add. The answer is not a better interior concept—it is a better sequence for delivering it.
The 10-Outlet Playbook at a Glance
Opening ten outlets works best as three phases, each with a different job:
| Phase | Outlets | Main goal | What you should have at the end |
|---|---|---|---|
| 1. Prototype | Outlet 1 | Prove the concept and record every decision | Approved layout, components, materials and technical criteria |
| 2. Test the kit | Outlets 2–3 | Apply the standard to different sites and fix the gaps | A working rollout kit, approved alternatives and one approval process |
| 3. Repeat in parallel | Outlets 4–10 | Run several outlets at once from the kit | A pipeline of outlets, batch manufacturing and a kit that improves each time |
The steps below follow that sequence.
Phase 1 — Outlet 1: Build the Prototype You Will Repeat
Step 1: Get the First Outlet Right
The first restaurant or approved prototype becomes the foundation for every future location. It needs to settle the brand look and feel, customer journey, operational flow, kitchen requirements, counter design, furniture, materials, lighting, signage, service areas and key technical details.
Its purpose is not only to be a successful restaurant. It should also answer:
What should we repeat next time?
Step 2: Tag Every Element as Fixed, Adaptable or Site-Specific
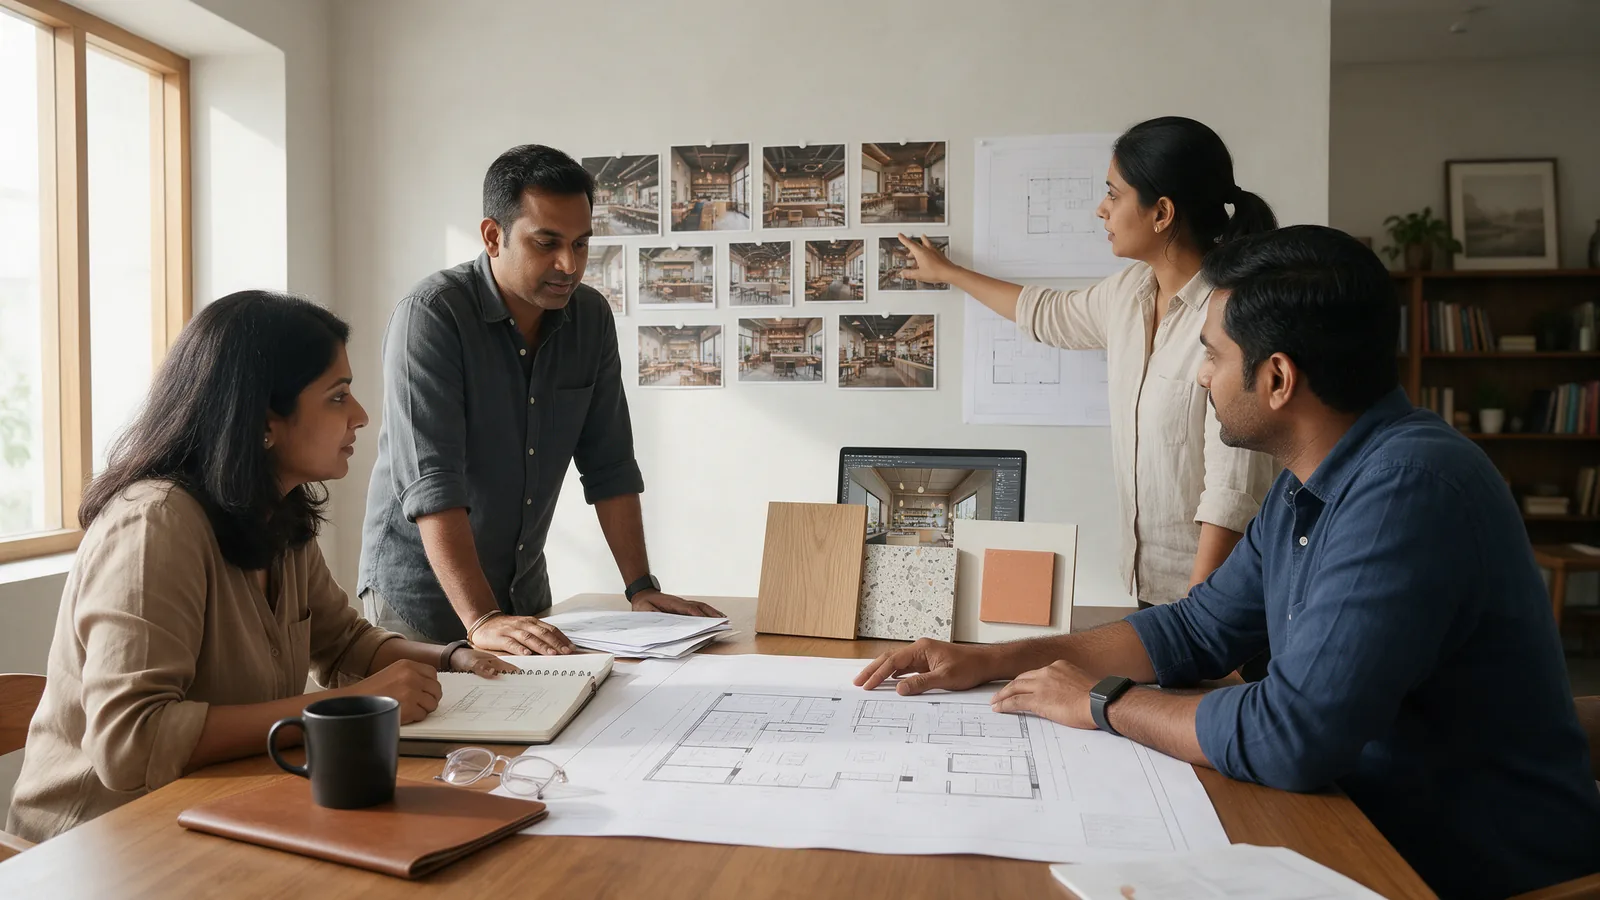
Before work on Outlet 2 begins, walk the first restaurant with the design and operations teams and tag each element into one of three buckets. (The Rollout Guide explains the framework in depth; here is how to apply it.)
- Fixed — e.g. the counter front design, brand colours, furniture family, signage language.
- Adaptable — e.g. counter length, banquette runs, wall-panel quantities, lighting layout.
- Site-specific — e.g. exhaust route, electrical capacity, columns, ceiling height, façade restrictions.
The output is a simple list your team can check every new site against—and it prevents the most common expansion mistake: forcing exactly the same restaurant into completely different sites.
Phase 2 — Outlets 2 and 3: Turn the Prototype Into a Kit
Step 3: Write the Kit Down Before Outlet 2's Design Starts
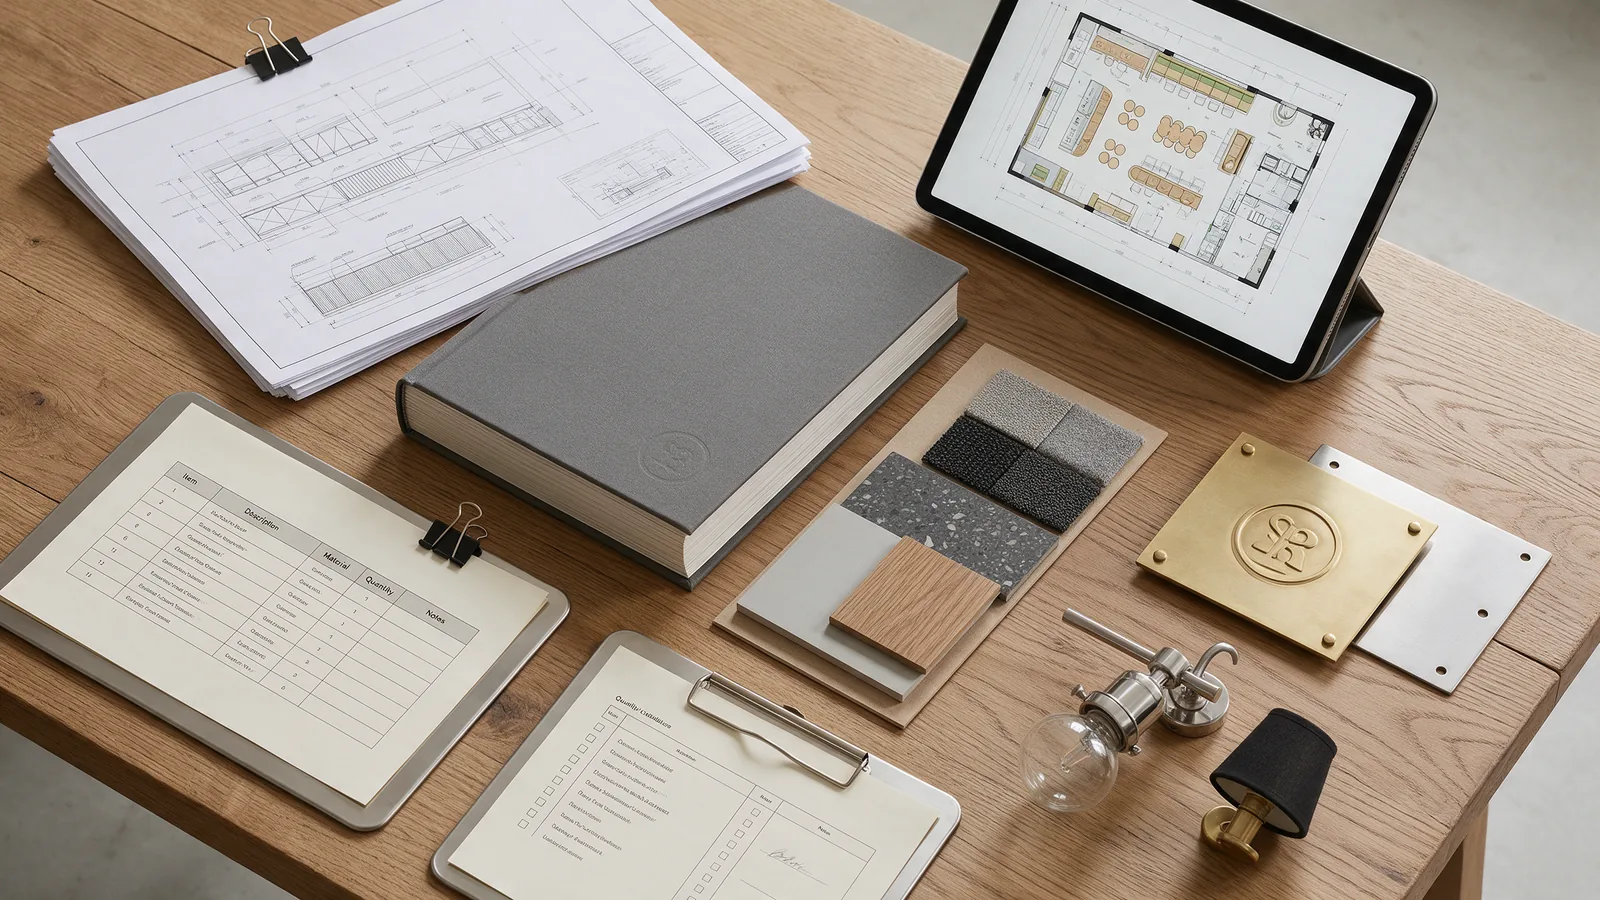
Outlets 2 and 3 are where the system is tested. Before their design begins, document the minimum kit the team will work from:
- Prototype layouts and brand/interior guidelines
- Counter drawings and furniture schedules
- Material specifications and approved finishes
- Signage and lighting standards
- Kitchen and MEP design criteria, and equipment requirements
- Installation details and quality-control checklists
From here, the team stops asking “What should this restaurant look like?” and starts asking:
“How do we adapt our approved system to this particular site?”
Step 4: Lock Component, Material and Technical Standards
Use Outlets 2 and 3 to confirm three sets of standards, so Outlets 4–10 do not reopen them:
- Components — freeze the drawings for repeatable elements such as POS and service counters, banquettes, tables, chairs, service stations, display units and wall panelling. Only redesign one when there is a genuine reason. (See our counter, dine-in furniture and panelling solutions.)
- Materials — fix an approved library for flooring, laminates, veneers, upholstery, paints, metals, countertops, lighting, hardware and signage materials—and name an approved substitute for each, so an unavailable item never restarts the selection process.
- Technical criteria — write down the brand's requirements for kitchen equipment, electrical loads, water, drainage, HVAC, exhaust, fresh air, fire systems, POS and data, so engineers check each site against them rather than rediscovering them. (Our Commercial Kitchen Guide covers the kitchen side.)
Step 5: Set Up One Approval Process
Expansion slows down when every outlet is approved differently. Agree one set of checkpoints during Outlets 2 and 3:
Everyone should know who can approve what—and how quickly. This matters most once several outlets are running at the same time, and it directly affects project timelines.
Phase 3 — Outlets 4 to 10: Repeat, in Parallel
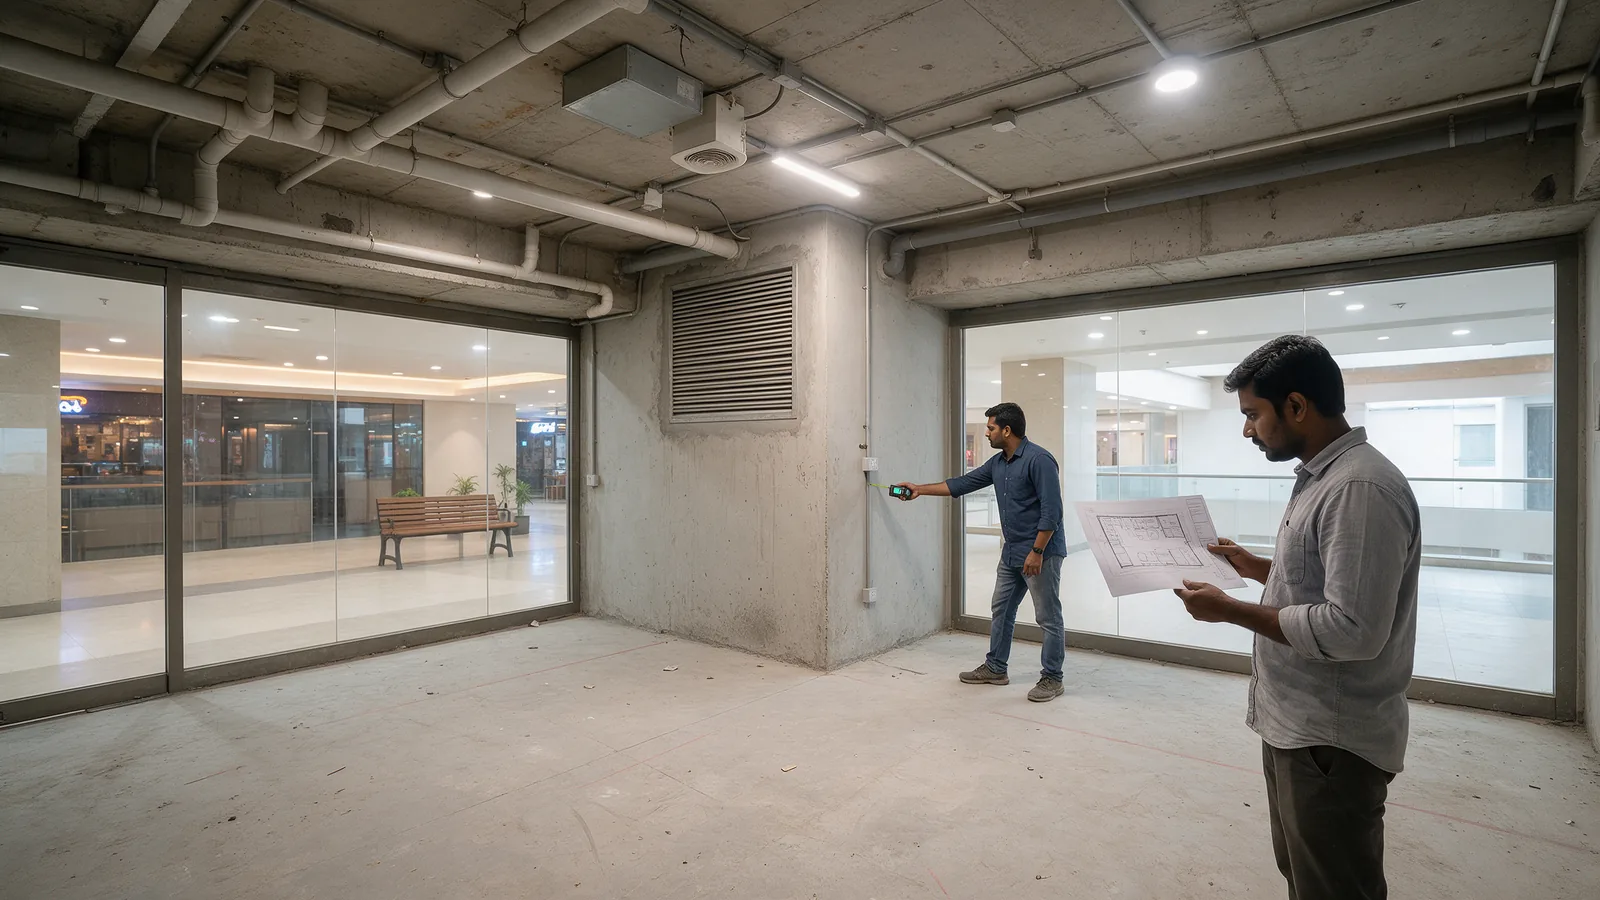
Step 6: Survey Every New Site Against the Standard
A kit never replaces a proper site survey. For each new location, compare the standard layout against the actual floor area and shape, ceiling height, entry location, customer circulation, kitchen position, electrical load, water, drainage, HVAC, exhaust, fire requirements, façade conditions and landlord rules.
Record every deviation from the kit and get it approved before manufacturing is released. Consistency does not mean copy-paste.
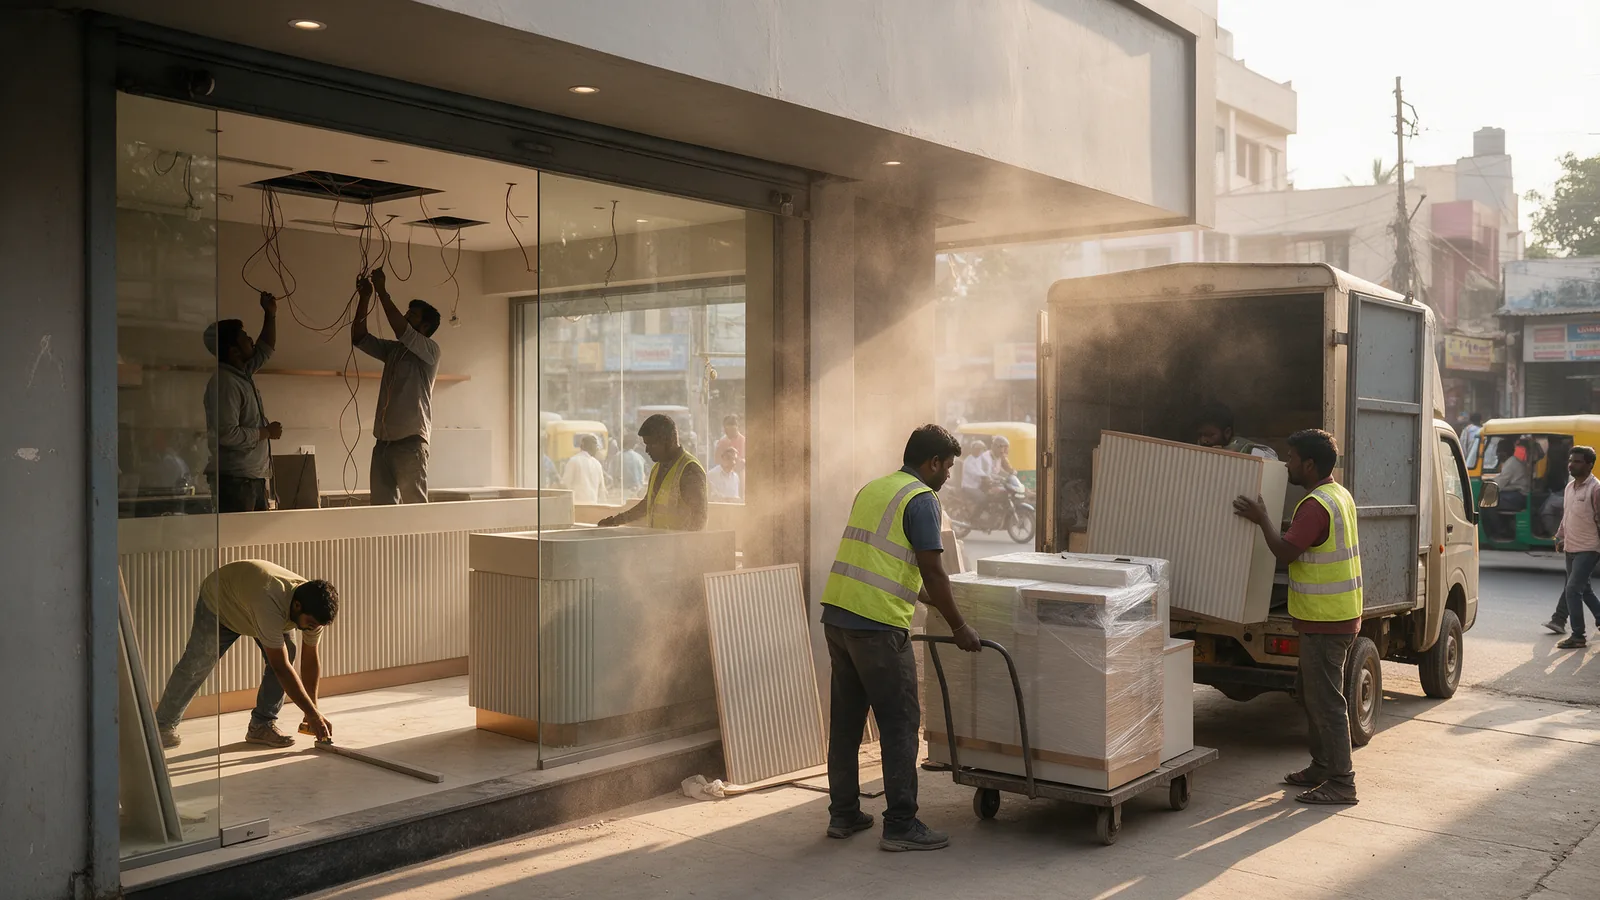
Step 7: Manufacture in Batches While Sites Get Ready
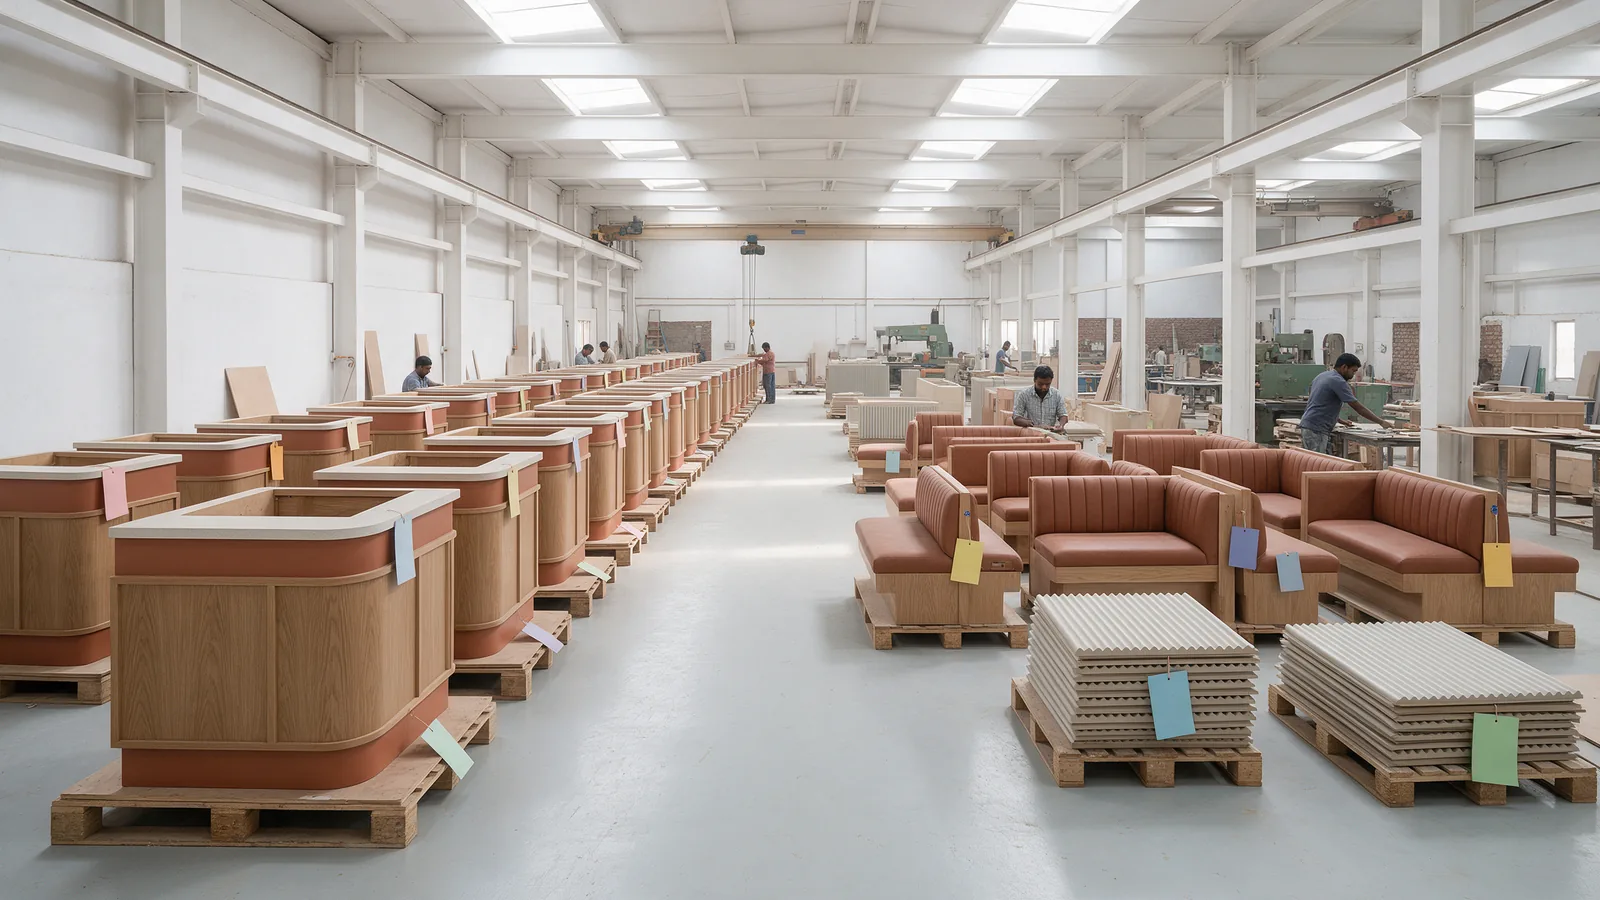
Once components are frozen, approved counters, furniture, banquettes, wall panels and service stations can be produced from the same drawings for several outlets, rather than interpreted independently by different local contractors. (Read more about off-site manufacturing.)
- Group production for outlets opening in the same window.
- Label every component by outlet before it leaves the factory.
- Time deliveries to each site's readiness—components arriving before a site can take them only creates storage problems.
FlatPackCo's system is designed around this kind of parallel delivery, with controlled manufacturing progressing while site work advances.
Step 8: Stagger Outlets So They Run as a Pipeline
Opening ten outlets one at a time is slow; starting them all at once overloads every team. The practical middle ground is a pipeline, where each outlet is at a different stage:
Each team then works on one outlet at a time while the brand as a whole has several moving forward. Landlord handover dates and approval timelines usually set how tightly the pipeline can be packed.
Step 9: Feed Every Lesson Back Into the Kit
The kit should not stay frozen. Each outlet may reveal improvements to counter dimensions, furniture durability, material specifications, kitchen workflows, installation details, packaging, transport or maintenance access.
For example: if Outlet 3 reveals that a service counter needs a better access panel, update the standard drawing. Outlet 4 should automatically receive the improved version.
Fix it once in the kit—not separately at every location. That is how outlets 8, 9 and 10 become easier than outlets 2 and 3.
A Checklist for Every New Outlet
Run each new location through the same list:
- Site surveyed against the standard layout and technical criteria
- Layout adapted from the prototype—not redrawn from scratch
- Deviations from the kit listed and approved
- Long-lead materials and equipment ordered
- Manufacturing released from frozen, approved drawings
- Deliveries scheduled to the site's actual readiness
- Installation checked against the kit's quality benchmarks
- Lessons recorded and the kit updated before the next outlet
What Should Be Standardised Across 10 Outlets?
A useful starting point is:
| Standardise Where Practical | Adapt to Each Site |
|---|---|
| Brand identity | Layout |
| Material palette | Seating quantity |
| Counter design | Counter dimensions |
| Furniture family | Kitchen configuration |
| Signage standards | MEP routes |
| Lighting family | Ceiling conditions |
| Equipment standards | Exhaust route |
| Technical details | Façade restrictions |
| Quality benchmarks | Local landlord requirements |
The objective is controlled consistency, not identical restaurants.
How the FlatPack Method Supports Multi-Outlet Expansion
FlatPackCo structures Restaurant Design & Build delivery through the FlatPack Method:
Once an approved restaurant has been developed, its design specifications, engineering standards and manufacturing information can support subsequent outlets, so each new site adapts the system to the property instead of recreating the restaurant from zero. (See how a restaurant can be built in 15 days for the method in action on a single outlet.)
Frequently Asked Questions
How do restaurant chains open multiple outlets quickly?
Restaurant chains can reduce repeated work by developing standard design guidelines, technical criteria, furniture, counters, materials, signage and quality standards that can be adapted to each new site.
Should every restaurant outlet look identical?
No. Core brand elements should remain consistent, while layouts and site-specific details should adapt to the property, customer flow and technical conditions.
What is a restaurant rollout kit?
A restaurant rollout kit is a documented set of approved standards used for future outlets. It may include layouts, materials, furniture, counter drawings, signage, technical details, equipment requirements and installation standards.
What should a restaurant brand standardise first?
Start with the elements customers recognise and teams repeatedly use: brand identity, counters, furniture, materials, signage, lighting, kitchen criteria and technical standards.
Can restaurant furniture and counters be reused across different outlet designs?
The same component families can often be reused or resized across locations, provided they are designed as adaptable systems and coordinated with each site's dimensions.
Does standardisation make restaurants boring?
Not necessarily. Standardisation can focus on components, specifications and processes while layouts, feature areas and customer experiences continue to respond to individual locations.
How does off-site manufacturing help restaurant expansion?
Off-site manufacturing allows approved components to be produced from repeatable drawings and specifications, helping maintain consistency and allowing production to progress alongside site preparation.
When should a restaurant brand create a rollout system?
Ideally after the first successful concept is developed and before expansion accelerates. Even brands planning outlet two or three can benefit from documenting what should remain consistent.
Final Takeaway
If you are planning ten restaurant outlets, do not build ten completely separate projects.
- Build the first restaurant.
- Document what works.
- Standardise the right elements.
- Engineer repeatable components.
- Create a material and technical library.
- Manufacture suitable elements consistently.
- Adapt each outlet to its actual site.
- Then improve the system every time you build.
That is the difference between building restaurants and building a restaurant brand that can scale.
FlatPackCo's approach is designed around exactly this idea: develop the restaurant once, retain the knowledge behind it, and make the next location easier to deliver.
Planning Your Second, Fifth or Tenth Outlet?
Talk to FlatPackCo about planning and delivering your next outlets—without restarting the project each time.
Talk to FlatPackCo